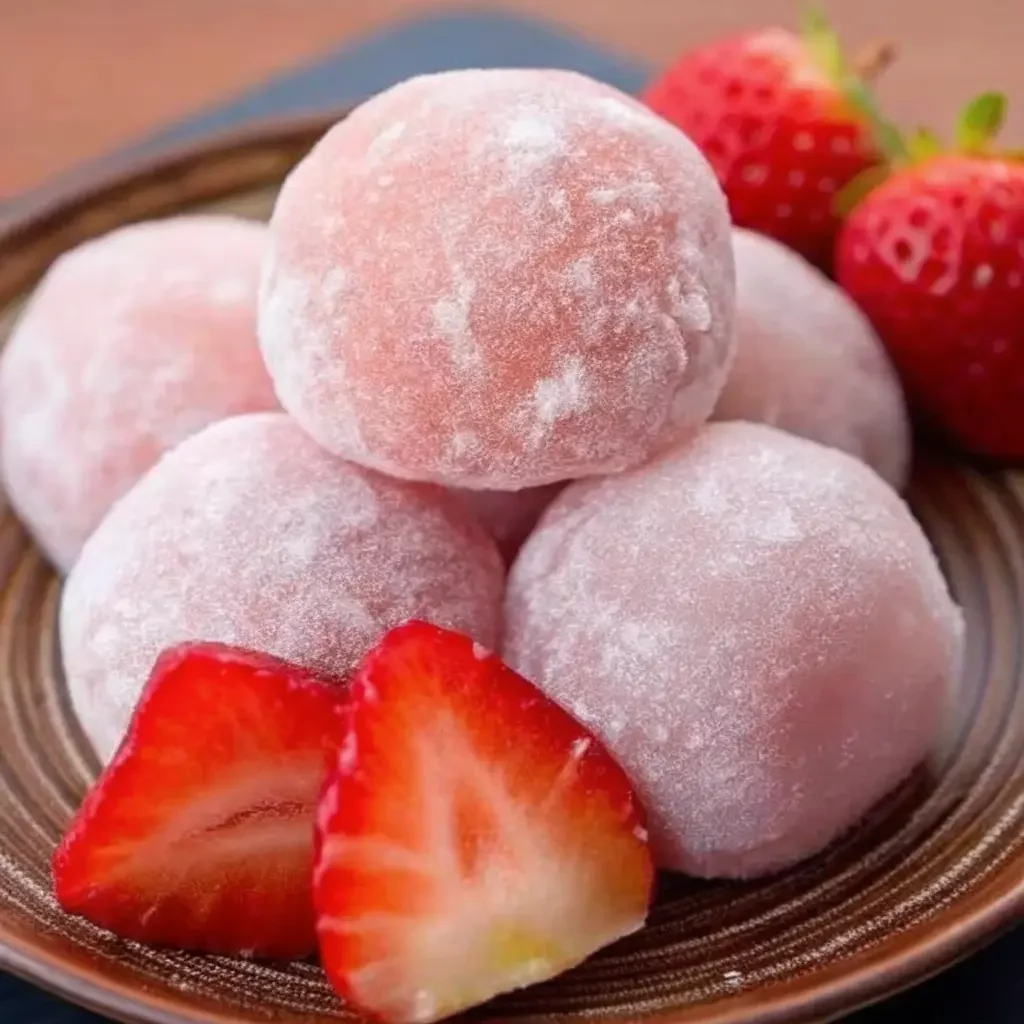
You’re going to love this easy strawberry mochi recipe that brings authentic Japanese flavors right to your kitchen! These pillowy-soft treats filled with sweet strawberries are surprisingly simple to make at home.
I’ll show you exactly how to create these delightful chewy desserts step-by-step! 🍓
What Makes This Recipe Special ✨
This recipe is honestly a game-changer for anyone craving authentic Japanese sweets. The combination of chewy mochi wrapper and fresh strawberry filling creates the perfect balance of textures and flavors.
✅Simple Ingredients, Big Results 🧄
You only need a handful of basic ingredients that you can find at most grocery stores (trust me, no specialty shopping required).
✅Ready in 45 Minutes ⏱️
From start to finish, these beauties come together faster than you’d expect – perfect for satisfying sudden sweet cravings.
✅Family-Approved Winner 👨👩👧👦
Kids absolutely love the fun, squishy texture, and adults appreciate the delicate sweetness that isn’t overwhelming.
Recipe Yield 🎯
Makes: 12 pieces
Prep Time: 30 minutes
Cook Time: 15 minutes
Total Time: 45 minutes
Everything You Need 📋
For the Mochi:
- 1 cup glutinous rice flour (mochiko)
- 1/4 cup granulated sugar
- 1 cup water
- 2 tablespoons cornstarch (for dusting)
For the Filling:
- 12 fresh strawberries, hulled
- 1/2 cup red bean paste (anko) – optional
- 2 tablespoons powdered sugar
Optional Add-Ins:
- 1-2 drops natural strawberry extract
- 1/2 tsp beet powder (for color)
- Matcha powder for a dual-flavored mochi
Kitchen Equipment 🛠️
- Microwave-safe bowl
- Plastic wrap
- Small bowls for assembly
- Clean kitchen towel
Let’s Get Cooking 🍳
Prep Your Ingredients 🔪
Start by washing and hulling your strawberries – make sure they’re completely dry (water will make your mochi sticky in the wrong way). If you’re using red bean paste, divide it into 12 small portions. Actually, forget what I just said about the bean paste being required – it’s totally optional, but it does add that authentic Japanese flavor.
Create the Mochi Base 🏗️
In a microwave-safe bowl, whisk together the glutinous rice flour, sugar, and water until completely smooth. Cover with plastic wrap and microwave for 2 minutes. Stir, then microwave for another 1-2 minutes until the mixture becomes translucent and stretchy. Honestly, it might take 3-4 minutes total depending on your microwave (mine’s pretty weak).
The Assembly Magic ✨
Dust your work surface generously with cornstarch. Turn out the hot mochi dough and let it cool for about 5 minutes. Divide into 12 equal pieces. Working quickly, flatten each piece into a circle, place a strawberry (and bean paste if using) in the center, and gather the edges to seal. The key here is working fast – mochi gets harder to work with as it cools.
Flavor Journey 🎢
What to Expect: These mochi have a pleasantly chewy, bouncy texture that gives way to the sweet-tart burst of fresh strawberry. The subtle sweetness of the mochi wrapper perfectly complements the fruit’s natural flavors.
Taste Experience 😋
The first bite delivers that signature mochi chewiness, followed by the juicy strawberry that creates a delightful contrast. It’s like biting into a little pillow of happiness (so worth it).
Creative Twists 🌪️
Ingredient Swaps 🔄
Try using different fruits like mango chunks, kiwi slices, or even chocolate pieces. I’m not 100% sure about this, but I think blueberries would work too – just use 3-4 per mochi.
Make It Your Own 🎨
Roll finished mochi in shredded coconut, dust with matcha powder, or drizzle with melted white chocolate for extra indulgence.
Storage Tips 📦
Store in an airtight container at room temperature for up to 2 days. Don’t refrigerate – it makes the mochi texture tough and chewy in an unpleasant way. Side note – these also freeze beautifully for up to a month!
Pro Tips for Success 💡
Expert Techniques 👨🍳
Keep your hands slightly damp when shaping mochi to prevent sticking. Work in small batches so the dough doesn’t cool too much while you’re assembling.
Time-Saving Hacks ⚡
Prepare your strawberries and workspace before making the mochi dough. Once that dough is ready, you need to move fast!
Quick Answers ⚡
Can I make these ahead of time?
Yes, but they’re best enjoyed within 24 hours. The texture starts to change after that.
What if I don’t have glutinous rice flour?
Unfortunately, there’s no good substitute – regular flour won’t give you that signature chewy texture.
Is this gluten-free?
Yes! Despite the name “glutinous rice flour,” it’s actually gluten-free.
Can I use frozen strawberries?
Fresh is definitely better, but if using frozen, thaw and pat completely dry first.
My Take on This Recipe 💭
This strawberry mochi recipe brings me right back to my first trip to Japan (honestly, these taste just like the ones from Tokyo street vendors). The beauty is in the simplicity – just a few ingredients creating something so special. Don’t be discouraged if your first batch isn’t picture-perfect; even wonky-shaped mochi taste amazing!
The combination of that distinctive chewy texture with fresh strawberry makes these impossible to resist. Trust me, once you master this basic technique, you’ll be experimenting with all kinds of fillings. Happy cooking! 🍓