These maple brown sugar cookies are the kind of treat that tastes like autumn in every bite—and honestly, I’m about to walk you through making them from scratch. If you’ve been craving that perfect balance of chewy and caramelized goodness with real maple flavor, this recipe delivers exactly what you’re looking for. Let me show you how to bake batch after batch of cookies that’ll have everyone asking for seconds. 🍁
Why You’ll Love This Recipe ❤️
Sweet maple flavor that actually tastes like maple 🍂 — not that artificial syrup feeling. The combination of brown sugar and pure maple syrup creates this incredible depth that regular sugar cookies just can’t match. Super simple ingredients you probably have on hand 🧾 — no fancy equipment needed, just a mixing bowl and a baking sheet. Chewy centers with slightly crispy edges 🤤 — the exact texture that makes cookies addictive.
Serving Size 🍽️
Makes about 24-28 cookies depending on size
What You’ll Need 📝
For the Cookies:
- ¾ cup (170g) unsalted butter, melted
- 1 cup (200g) light brown sugar, packed
- ¼ cup (60ml) pure maple syrup
- 1 large egg, room temperature
- 1 teaspoon vanilla extract
- 2 cups (250g) all-purpose flour
- ½ teaspoon baking soda
- ½ teaspoon salt
- 1 teaspoon ground cinnamon
- ¼ teaspoon nutmeg (trust me on this one)
- Pinch of ground ginger
For the Maple Glaze:
- 1 cup (120g) confectioners’ sugar
- 2 tablespoons pure maple syrup
- 1 tablespoon whole milk
- ¼ teaspoon vanilla extract
Prep Time ⏳
About 15 minutes
Total Cook Time 🔥
Approximately 12-15 minutes per batch (plus 5 minutes cooling)
Cooking Tools & Equipment 🛠️
- Large mixing bowl
- Measuring cups and spoons
- Whisk or fork
- Baking sheets (2 recommended)
- Parchment paper
- Small bowl for glaze
- Cookie scoop (optional but helpful)
- Wire cooling rack
Let’s Get Cooking 🍳
Prep Your Ingredients 🔪
Start by preheating your oven to 350°F (175°C). Line your baking sheets with parchment paper—this prevents sticking and makes cleanup actually worth celebrating. Make sure your egg is at room temperature; it mixes better and creates a smoother dough. Measure out all your dry ingredients (flour, baking soda, salt, cinnamon, nutmeg, ginger) and whisk them together in a separate bowl. This distributes the leavening agents evenly, so your cookies bake consistently.
Build the Flavor Base 🧄
In your large mixing bowl, combine the melted butter with the packed brown sugar. Actually, when you pack that brown sugar, press it firmly into the measuring cup—this gives you the full depth of molasses flavor that makes these cookies special. Whisk the butter and sugar together until it’s well combined (about 1-2 minutes). Pour in your maple syrup and mix until the mixture looks smooth and glossy. Add your room-temperature egg and vanilla extract, whisking until everything is fully incorporated. You should have something that looks creamy and cohesive at this point.
Bring It Together 🤝
Add your whisked dry ingredients to the wet mixture, folding gently with a whisk or spatula. Don’t overmix here—I mean it. Once you don’t see any streaks of flour, stop immediately. Overmixing develops gluten, which makes cookies tough instead of tender. The dough should be thick enough to hold its shape, slightly sticky but definitely manageable.
Final Assembly 🎨
Using a cookie scoop or tablespoon, drop balls of dough onto your prepared baking sheets, leaving about 2 inches between cookies (they spread more than you’d think). I usually bake about 12 cookies per sheet. Pop them into your preheated 350°F oven and watch them for 12-15 minutes. They’re done when the edges look set but the centers still jiggle slightly when you shake the pan. Side note—if your oven runs hot, they might need just 11 minutes, so check early.
What to Expect 👅
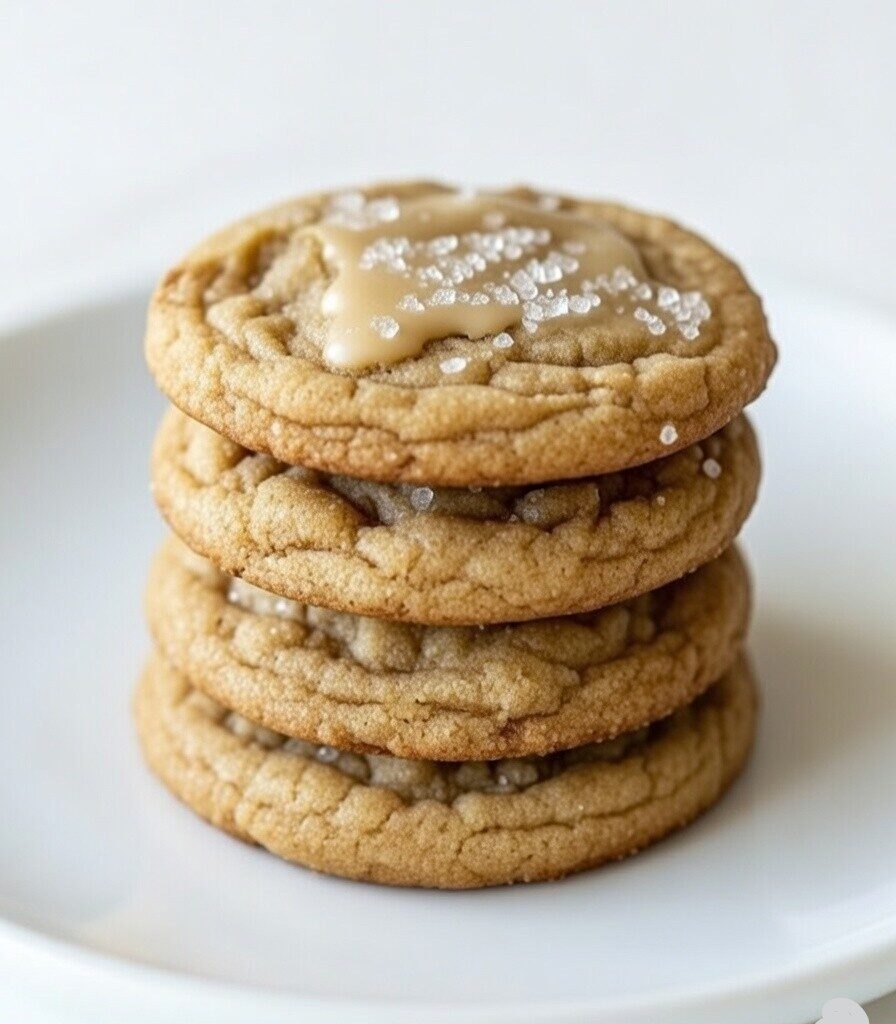
These cookies taste like caramel and autumn with that authentic maple flavor you’re probably used to from the real stuff. The brown sugar creates a slightly chewy center that’s almost fudgy, while the edges get just crispy enough to add contrast. The warm spices (cinnamon, nutmeg, ginger) aren’t overpowering—they’re there as a subtle background note that makes people say “what’s in these?” without being able to pinpoint it.
Key Flavors & Spices 🧂
The star ingredients here are pure maple syrup and packed brown sugar—don’t skip either one. The cinnamon, nutmeg, and ginger work together to enhance the maple flavor without making these taste like pumpkin spice. Using real vanilla extract (not the imitation stuff) makes a noticeable difference in the overall taste. Honestly, the quality of your maple syrup matters here—pure maple syrup tastes completely different from pancake syrup.
Allergen Alert ⚠️
Contains: Wheat (gluten), eggs, dairy (butter, milk in glaze). May contain traces of tree nuts depending on your kitchen.
Making It Safe 🛡️
For a dairy-free version, use vegan butter and substitute the milk in the glaze with non-dairy milk (almond or oat work great). For gluten-free cookies, swap the all-purpose flour 1:1 with a quality gluten-free flour blend that includes xanthan gum. For egg-free, use a flax egg (1 tablespoon ground flaxseed mixed with 3 tablespoons water, let sit 5 minutes).
Nutritional Breakdown 📋
Per cookie (approximate): 140 calories, 6g fat, 20g carbs, 1g protein, 12g sugar. The maple glaze adds about 20-30 additional calories per cookie.
Recipe Variations 🔄
Ingredient Swaps 🔄
Swap regular brown sugar for dark brown sugar if you want even deeper molasses flavor (honestly, sometimes I do this and they’re incredible). You can also substitute half the maple syrup with maple extract if you’re in a pinch—use ⅛ teaspoon of extract instead of 2 tablespoons syrup. For the glaze, almond extract is actually amazing mixed in (use ¼ teaspoon instead of vanilla).
Make It Your Own 🎨
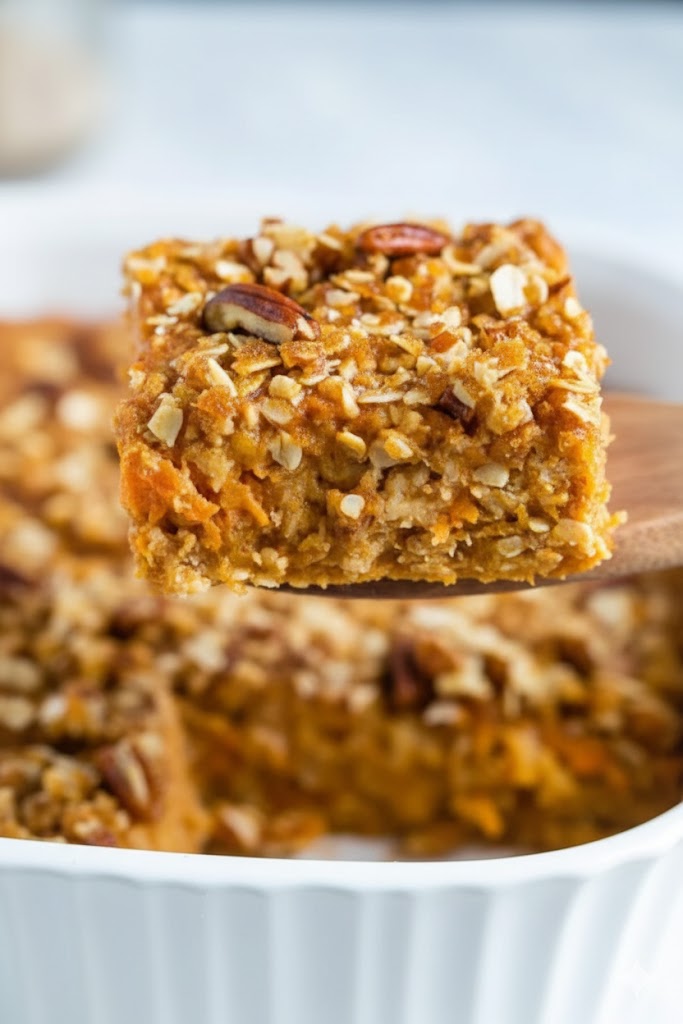
Add chopped toasted pecans or walnuts to the dough (about ¾ cup) for a crunchier texture. Chocolate chips work here too, though I’d reduce them to ½ cup so they don’t compete with the maple flavor. White chocolate chunks are incredible if you want something decadent. You can also skip the glaze entirely and dust warm cookies with cinnamon sugar instead.
Perfect Pairings 🤝
Recommended Sides 🥗
These cookies go ridiculously well with strong coffee—the bitterness balances the sweetness perfectly. Tea lovers should try them with black tea or chai. They’re also fantastic crumbled over vanilla ice cream, honestly one of my favorite ways to eat them.
What to Drink 🥤
A cold glass of milk is obviously the classic choice. But spiced hot chocolate, maple latte, or even warm cinnamon tea elevates these into a whole experience.
Complete Meal Ideas 🍽️
Make these the star of a dessert spread alongside something tart like lemon bars or berry treats. They pair beautifully with savory appetizers if you’re doing a mixed spread.
Presentation Tips 📸
Let the glaze drip off the fork slightly before placing on cookies—it creates an elegant, artisanal look. Once they’re glazed, add a tiny pinch of sea salt on top (honestly, it’s a game-changer). Arrange them on a wooden board for photos, and they’ll look like something from a bakery. If you’re gifting these, stack them in a clear container with parchment paper between layers.
Storage & Shelf Life ❄️
Room temperature: Keep them in an airtight container for up to 5 days. They’ll stay chewy this way, which is honestly what you want.
Refrigerator: They last about a week in the fridge, perfect if you want to hide some from other people in your house.
Freezer: Unbaked dough balls freeze beautifully for up to 3 months. Bake straight from frozen, adding 2-3 extra minutes to the baking time. Or freeze baked cookies for up to 2 months.
Pro Tips for Success 💡
Techniques for Better Results 🎯
Don’t skip the room-temperature egg —it emulsifies better with the wet ingredients, creating a smoother dough. Measure your brown sugar correctly by packing it firmly into the cup; it makes a real difference in flavor intensity. Melt the butter rather than using softened butter —this creates a different texture that’s chewier than traditional cookies. Let cookies cool on the baking sheet for 3-5 minutes before transferring to a rack; they’ll firm up slightly and not break apart.
Smart Shortcuts ⚡
If you’re short on time, you can skip the glaze and the cookies are still delicious on their own. You can also make the dough the night before, refrigerate it, and bake fresh cookies in the morning. One more thing—if you have a stand mixer, use it to cream the butter and sugar together, but still fold in the flour by hand to avoid overworking the dough.
Troubleshooting Guide 🔧
Cookies spreading too much: Your butter was probably too warm. Let the melted butter cool for a few minutes before mixing, or refrigerate the dough for 15 minutes before baking.
Cookies turning out cake-like: You likely added too much flour or mixed the dough too much. Measure flour by spooning into the cup and leveling off, don’t scoop directly.
Edges burning but centers undercooked: Move your oven rack to the middle position and lower the temperature by 15°F. Ovens can be temperamental.
Glaze too thick: Add milk one teaspoon at a time until you reach the right consistency. Too thin? Add more confectioners’ sugar.
No maple flavor coming through: You’re probably using pancake syrup instead of pure maple. Switch to real maple and you’ll immediately notice the difference.
FAQs ❓
Can I use butter instead of melted butter? Softened butter works, but the cookies won’t have quite the same chewy texture. Melted butter creates that specific result you’re going for here.
What if I don’t have vanilla extract? You can skip it entirely—the maple flavor is strong enough to carry the cookies. Or use almond extract for a different but equally delicious profile.
Is this recipe dairy-free? Not as written, but I included modifications earlier that make it completely dairy-free while keeping the same great taste.
How do I know when they’re actually done baking? The edges should look set and slightly crispy, but the center should still jiggle a tiny bit when you shake the pan. They’ll firm up as they cool.
Can I double this recipe? Absolutely, just double every ingredient. The baking time stays about the same.
Final Thoughts ❤️
Here’s the thing about maple brown sugar cookies—they’re not complicated, but they’re somehow better than cookies made the traditional way. The maple syrup adds this caramelized depth that makes people ask what you did differently. The brown sugar brings molasses notes that create that perfect chewiness. And honestly? They’re the kind of cookies worth making on a regular Tuesday, not just for special occasions. Bake them, enjoy them, and definitely make a second batch because they disappear fast. 🍁