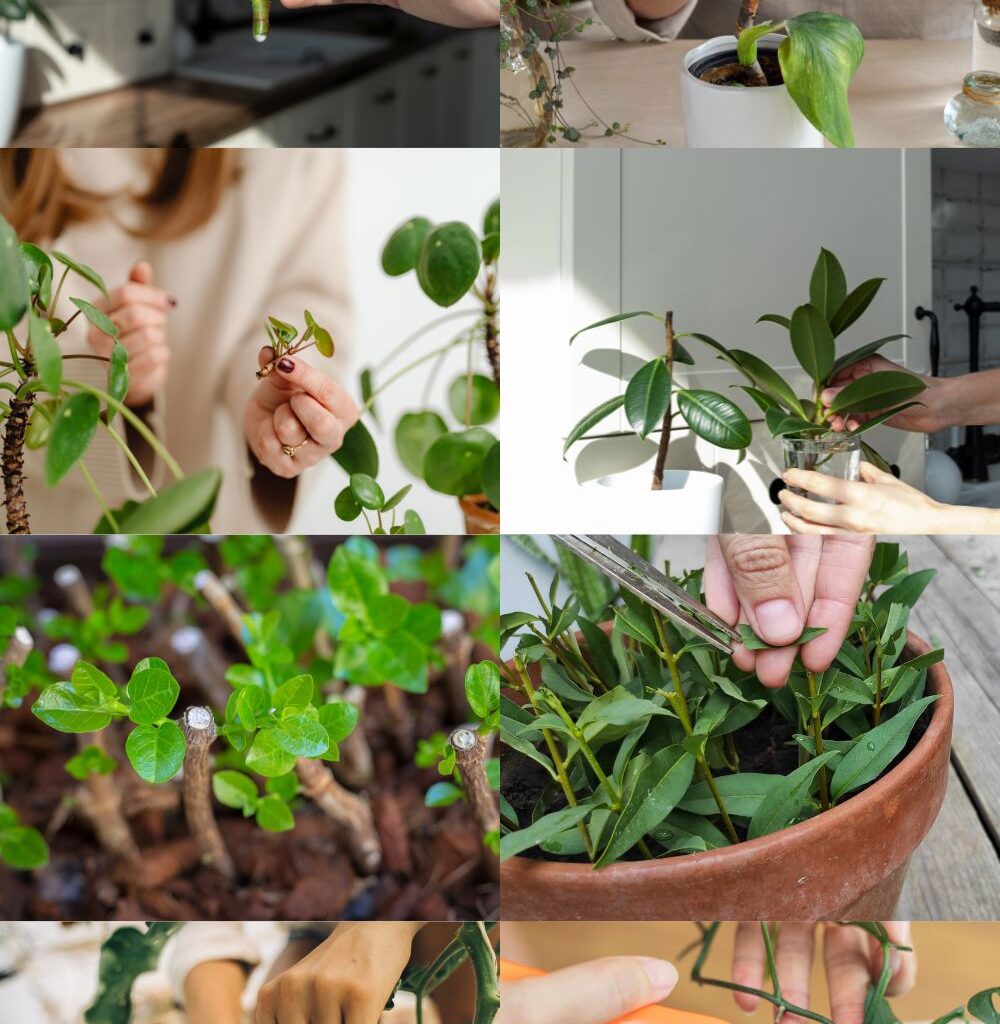
Propagating plants from cuttings is like having a green thumb superpower! It’s an incredibly rewarding way to expand your garden and share the joy of growing with others. Whether you’re a curious beginner or an experienced gardener,
this comprehensive guide will walk you through everything you need to know about growing new plants from cuttings.
🌺 Best Time to Propagate from Cuttings
The ideal time to take cuttings depends on the type of cutting you’re making. For most plants, the best time is during the active growing season:
Spring and early summer: Perfect for softwood cuttings when plants are in active growth 🌱 Mid-summer: Ideal for semi-hardwood cuttings from woody plants 🌿 Late fall to winter: Best for hardwood cuttings from dormant plants 🍂
🛠️ What You’ll Need
🪴 Clean, sharp pruning shears or scissors
🏺 Clean containers with drainage holes
🌿 Rooting hormone (optional but recommended)
🪴 Well-draining potting mix
💧 Clear plastic bags or propagation dome
🌡️ Heat mat (optional, for warmth-loving plants)
🧴 Spray bottle with clean water
✨ Rubbing alcohol for sterilizing tools
🌿 Propagation Methods Success Rates
| Method | Success Rate | Difficulty |
|---|---|---|
| Softwood Cuttings | 90% | Easy |
| Semi-hardwood Cuttings | 80% | Moderate |
| Hardwood Cuttings | 75% | Moderate |
| Water Propagation | 85% | Easy |
📝 Step-by-Step Propagation Guide

🌱 Preparing Your Cuttings
- Sterilize Your Tools ✨ First, clean your pruning shears with rubbing alcohol to prevent contamination. This simple step can dramatically increase your success rate by preventing the spread of pathogens.
- Select Healthy Parent Plants 🌿 Choose a vigorous, disease-free plant. Look for stems that are:
- Green and flexible for softwood cuttings
- Slightly firm but still bendable for semi-hardwood
- Woody and mature for hardwood cuttings
- Take the Cutting ✂️ Make a clean, angled cut just below a node (where leaves meet the stem). Your cutting should be:
- 4-6 inches long for most plants
- Include at least 2-3 nodes
- Have healthy leaves at the top
🌸 Preparing for Planting
- Remove Lower Leaves 🍃 Strip off the lower leaves, leaving just 2-3 sets at the top. This reduces water loss and prevents rotting when planted.
- Apply Rooting Hormone (Optional) 🧪 Dip the cut end in rooting hormone powder or gel. Tap off excess – a light coating is all you need.
🪴 Planting Your Cuttings
- Prepare the Growing Medium 🌱 Fill containers with moistened potting mix. Make holes with a pencil or stick to prevent the rooting hormone from rubbing off.
- Plant the Cuttings 🌿 Insert cuttings about 1-2 inches deep, ensuring at least one node is below the soil surface. Gently firm the soil around them.
- Create Humidity 💨 Cover with a clear plastic bag or dome to maintain humidity. Leave some ventilation to prevent mold.
🌱 Softwood Cutting Method
- Identify Softwood Growth ✨
- Look for new, green, flexible stems
- Bend the stem – it should snap cleanly when bent
- Best done in spring or early summer
- Choose stems without flower buds
- Take Your Cutting ✂️
- Cut 4-6 inches below a leaf node
- Make cut at 45-degree angle
- Ensure at least 3-4 leaf nodes on cutting
- Cut early morning when plants are hydrated
- Prepare Cutting 🌿
- Remove all lower leaves
- Keep 2-3 top leaves
- Trim large leaves in half to reduce water loss
- Dip cut end in rooting hormone
- Plant and Care 🪴
- Use well-draining potting mix
- Make hole with pencil
- Insert cutting 1-2 inches deep
- Mist and cover with clear plastic
- Place in bright, indirect light
- Keep soil consistently moist
- Roots develop in 2-4 weeks
🌺 Semi-Hardwood Cutting Method
- Select Proper Stems 🔍
- Choose partially matured wood
- Look for stems that are firmer than softwood
- Best taken in late summer/early fall
- Should be current season’s growth
- Prepare Cuttings ✂️
- Cut 6-8 inches long
- Remove bottom leaves
- Keep 2-3 leaf pairs at top
- Scrape bark on bottom 1 inch
- Dip in rooting hormone
- Planting Process 🪴
- Use mix of perlite and peat moss
- Insert 2-3 inches deep
- Water thoroughly
- Cover with plastic dome
- Provide bottom heat (70-75°F)
- Roots form in 4-8 weeks
🌲 Hardwood Cutting Method
- Timing and Selection ⏰
- Take cuttings during dormancy
- Choose healthy branches
- Look for pencil-thickness stems
- Cut 8-12 inches long
- Preparation Steps ✂️
- Make straight cut below node
- Angled cut at top
- Mark bottom end
- Remove side branches
- No leaves to remove (dormant)
- Planting and Care 🌱
- Use coarse sand or perlite mix
- Bury 2/3 of cutting length
- Water well
- Keep cool (around 60°F)
- No plastic cover needed
- Roots develop in 6-12 weeks
💧 Water Propagation Method
- Preparation 🌿
- Select healthy stems
- Cut below node
- Remove lower leaves
- Keep 2-3 top leaves
- Use clean, room temperature water
- Setup Process 🏺
- Use clear container
- Fill with fresh water
- Change water every 3-4 days
- Keep nodes submerged
- Keep leaves above water
- Maintenance 💦
- Place in bright, indirect light
- Maintain 65-75°F temperature
- Watch for root development
- Change water if cloudy
- Roots appear in 1-3 weeks
- Transition to Soil 🪴
- Wait for roots to reach 1-2 inches
- Use well-draining potting mix
- Keep extra moist first week
- Gradually reduce watering
- Watch for new growth
⚠️ Important Tips for All Methods:
➡️Sterilize tools before each cut
➡️Always use fresh potting medium
➡️Monitor humidity and temperature
➡️Be patient – different plants root at different rates
➡️Keep cuttings away from direct sun while rooting
⚠️ Common Problems & How to Fix Them
Yellowing Leaves 🍂 Your cutting may be getting too much light or water. Move to indirect light and ensure proper drainage.
Wilting Despite Moist Soil 😥 This often indicates too much heat or direct sunlight. Move to a cooler, shadier spot and mist regularly.
Rotting Stems 🌧️ Usually caused by too much moisture. Remove the humidity dome for longer periods and ensure good air circulation.
🌺 How to Care for Newly Propagated Plants
The journey doesn’t end once your cuttings develop roots. The transition period is crucial for ensuring your new plants thrive. Let me guide you through this delicate phase with the care and attention it deserves.
🌱 First Two Weeks After Rooting
The initial transition period requires careful attention to environmental conditions. Your newly rooted cutting is particularly vulnerable during this time.
Maintain consistent moisture in the soil – think of a wrung-out sponge’s dampness. The growing medium should never dry out completely, but avoid waterlogged conditions that can lead to root rot.
🌡️ Environmental Conditions
Creating the right environment is crucial for success. Place your newly rooted cuttings in bright, indirect light – imagine the dappled sunlight beneath a tree canopy.
Maintain temperatures between 65-75°F (18-24°C). Higher temperatures can stress the young plants, while cooler conditions might slow growth. Humidity should stay around 60-70% – use a humidity tray or regular misting to achieve this.
🎯 Advanced Tips for Propagation Success
After years of propagating plants, I’ve discovered some game-changing techniques that can significantly boost your success rate. Here’s what experienced gardeners know but rarely share:
The Hormone Timing Secret
Rooting hormone has a short effective period once exposed to air. Instead of dipping cuttings directly into the container, pour a small amount onto a clean surface.
This prevents contamination and ensures maximum effectiveness. Any unused portion should be discarded rather than returned to the container.
The Double-Cut Technique
Make your initial cut about an inch below where you actually want to take your cutting. Wait 30 seconds, then make your final cut at the proper location. This prevents air from being pulled into the stem and increases rooting success dramatically.
🌿 When to Transplant
Understanding the right time to transplant is crucial for your new plant’s survival. The process requires careful observation and timing. Your cutting is ready for transplanting when you see these developmental signs:
Root Development Indicators
Strong, healthy roots should be visible through drainage holes or the sides of transparent containers. Look for white or light-colored roots at least 1-2 inches long.
The roots should form a network rather than just a single strand. Gently tugging the plant should meet with slight resistance, indicating good root establishment.
New Growth Signals
Watch for fresh leaf growth or stem elongation. This indicates your cutting has developed enough roots to support new growth. The leaves should appear firm and vibrant, not wilted or yellowed. You might notice new buds forming or existing leaves becoming larger.
❓ FAQs: Your Propagation Questions Answered
Why are my cuttings turning yellow?
Yellowing often indicates either too much direct sunlight or improper watering. Move your cuttings to a location with bright, indirect light and ensure proper drainage. The soil should be consistently moist but never waterlogged.
When can I remove the humidity dome?
Begin removing the dome gradually after you see new growth. Start with 30 minutes daily, increasing the time over a week until the cutting adjusts to normal room humidity. Watch the plant’s response – if leaves start to wilt, increase humidity gradually.
How do I know if my cutting has rooted without pulling it up?
Look for these signs: resistance when gently tugged, new leaf growth, or roots visible through the drainage holes. Some plants might show roots through clear containers. Generally, if your cutting stays upright and looks healthy after 3-4 weeks, it’s likely rooted.
🌟 Final Thoughts
Plant propagation is both a science and an art. While these guidelines provide a solid foundation, don’t be afraid to experiment and develop your own techniques. Each failure teaches valuable lessons, and each success brings the joy of creating new life. Trust your instincts, observe your plants carefully, and celebrate your growing expertise.
Keep a propagation journal to track your successes and learning experiences. Note the methods that work best for different plants in your specific environment. Share your knowledge with other gardeners and continue learning from their experiences too.
With patience, attention to detail, and a willingness to learn, you’ll soon be propagating plants like a pro. Happy growing! 🌿💚